Inside the Linksys WUSB11
(Or how to add an external antenna to a USB 802.11b adaptor)
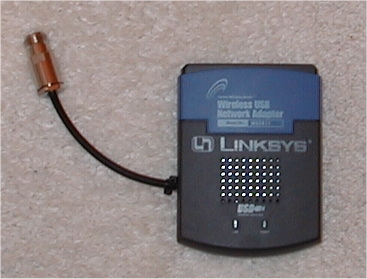
The Linksys WUSB11 is a nice if basic 802.11b adaptor
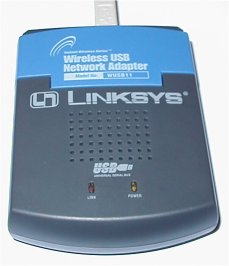
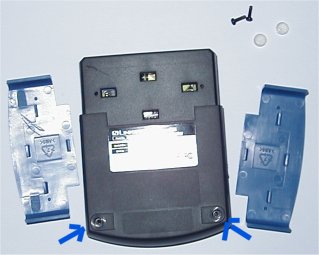
First challenge, how to get inside.
It turns out you don't need to remove the blue clip on covers.
Just remove the screws under the two feed at the bottom and gently prise apart.
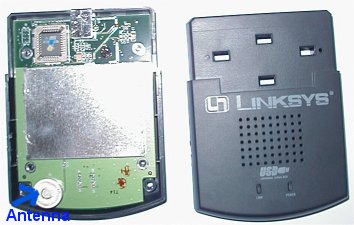
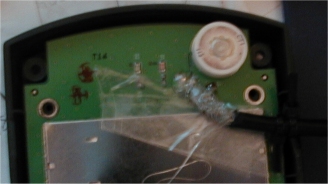
The antenna is located here:
Underside of PCB.
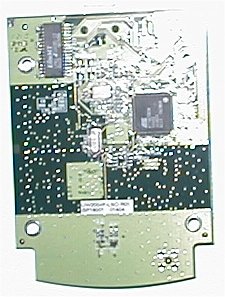
Cut the small thin track between the antenna and the rest of the board and remove about 3-4 mm of track.
Then remove a small amount of green etch protect from the track that leads to the rest of the card and tin with a
very small amount of solder. Use a very fine pointed professional soldering iron. Be careful not to remove the surrounding etch protect as you'll get solder everywhere!
Scratch off a small section of etch protect from the area marked with a green line and tin ready to solder the sheild.

Prepair the cable (a short section of RG58 with an N connector soldered on the end) and tin the centre and shield. I placed
tape around the area to ensure I didn't damage anything. Solder in place. I then used a small glob of glue from
my trusty glue gun to hold the centre in place. Make sure you don't get glue on the other components.
Cut a small V in the top and bottom of the case to create a hole when the case is closed. Use a couple of cable ties inside and out as
a strain relief. Put the case back together and you're finished!
Tips: Use a multimeter to check your cable for shorts before and after fitting. Once finished the adaptor should show little or no
signal until an antenna (or bit of wire) is connected to the 'N' connector. Make sure you don't short out the connector when the adaptor
is on as damage may occur.
The adaptor could now be mounted in a waterproof box very close to an external antenna and a 5 metre USB cable run back to
the PC. This would eliminate coax feeder losses.
Let me know if you try any of this and what your results were.
Last update 9th November 2001.