Helical Antenna for 802.11b and 2.4 GHz
The following page details construction of a Helical antenna based on the superb design by
Jason Hecker. (Link updated 12/12/2009)
Parts list and suppliers (if you're based in the UK):
1 x 2 metre length of 40mm white waste pipe BS5254 (you only need 55 cm) - B&Q WPP42WX - È 1.08
2 x 32mm Access cap (I don't know why the 32mm fits 40mm pipe and not the 40mm cap!) - B&Q WAA3WX - 0.58p each
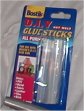
2-3 x Glue sticks for glue gun - B&Q - È 2.38 per pack
1 x Roll of 1.25 mm 18swg copper wire - Maplin YN81 - È 3.22 + VAT
1 x N Type Chass Skt Sq - Maplin FJ80 - È 1.70 + VAT
3 x m3 screws for N skt (pk of 25) - Maplin US10 - È 0.50 + VAT
3 x m3 nuts for N skt (pk of 25) - Maplin LL17 - È 0.42 + VAT
6 x m3 washers for N skt
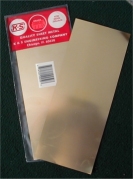
1 x Thin brass sheet - Alton Model Shop - È 2.00
Brass sheet
Tools required:
Saw
File
Glue Gun (or Super glue and slow setting Araldite)
Drill and various bits
Metal cutters
Soldering Iron
Glue guns are less then È10 at most DIY stores, I recommend one, but check what glue sticks it requires as some are misleadingly similar -
I have Bostik "DIY" glue gun. Beware that Bostik also sell a "Handy" glue gun. The guns and packs look the same but the glue sticks don't fit.
Check the small print as the word "Handy" or "DIY" is the only difference on these packs. I've already bought the wrong sticks once. The gun does not have a
name printed on it! What a con... also B&Q sell this gun in two packs, one costs about È9 and has two "free" glue sticks, the other costs about È12 and
has none. Guess which one you should look for. Oh, and don't buy the wood glue sticks!
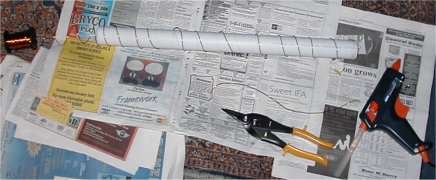
Construction:
Marking the pipe:

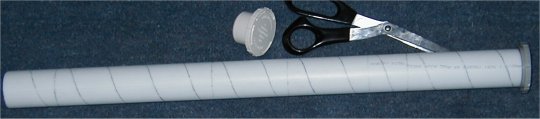
Glueing the wire to the pipe:

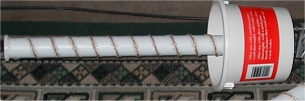
I've used access caps with removable covers at each end of the pipe, at the base the cap will be bolted to the base plate
to enable the pipe to be latched in to place. At the far end the other cap is mainly just to keep the damp out of the tube.
Everything is covered in glue to keep the water out and the main part of the end caps are glued in to place.
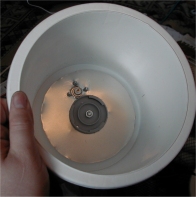
Inside the antenna. Try to get the connector a bit nearer the centre than I have here!
Antenna base

Finished antenna

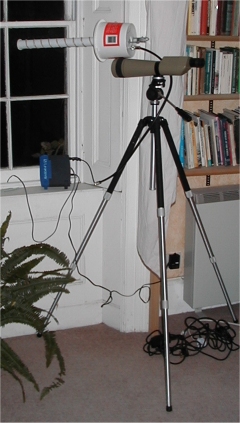
Testing the antenna
Tips:
When printing the templates, make sure you have any auto-resizeing options turned of in Adobe Acrobat or your printer settings,
you can test this by measuring the circle and checking it's 13 cm.
I've chosen to build my antennas using right hand circular polarisation. You can use ether but
all your antennas must use the same or you'll get hardly any usable signal.
I placed both a glue stick and a small offcut of pipe in a microwave oven (with a small mug of water) for a couple of mins.
Nether got even slightly warm so it seems they don't absorb microwaves and should be ok.
Links
Main
Make a Simple 2.4GHz Helical Antenna
Point to Point Helical Antennas
Building Helical Antennas
Last update 10th November 2001.